

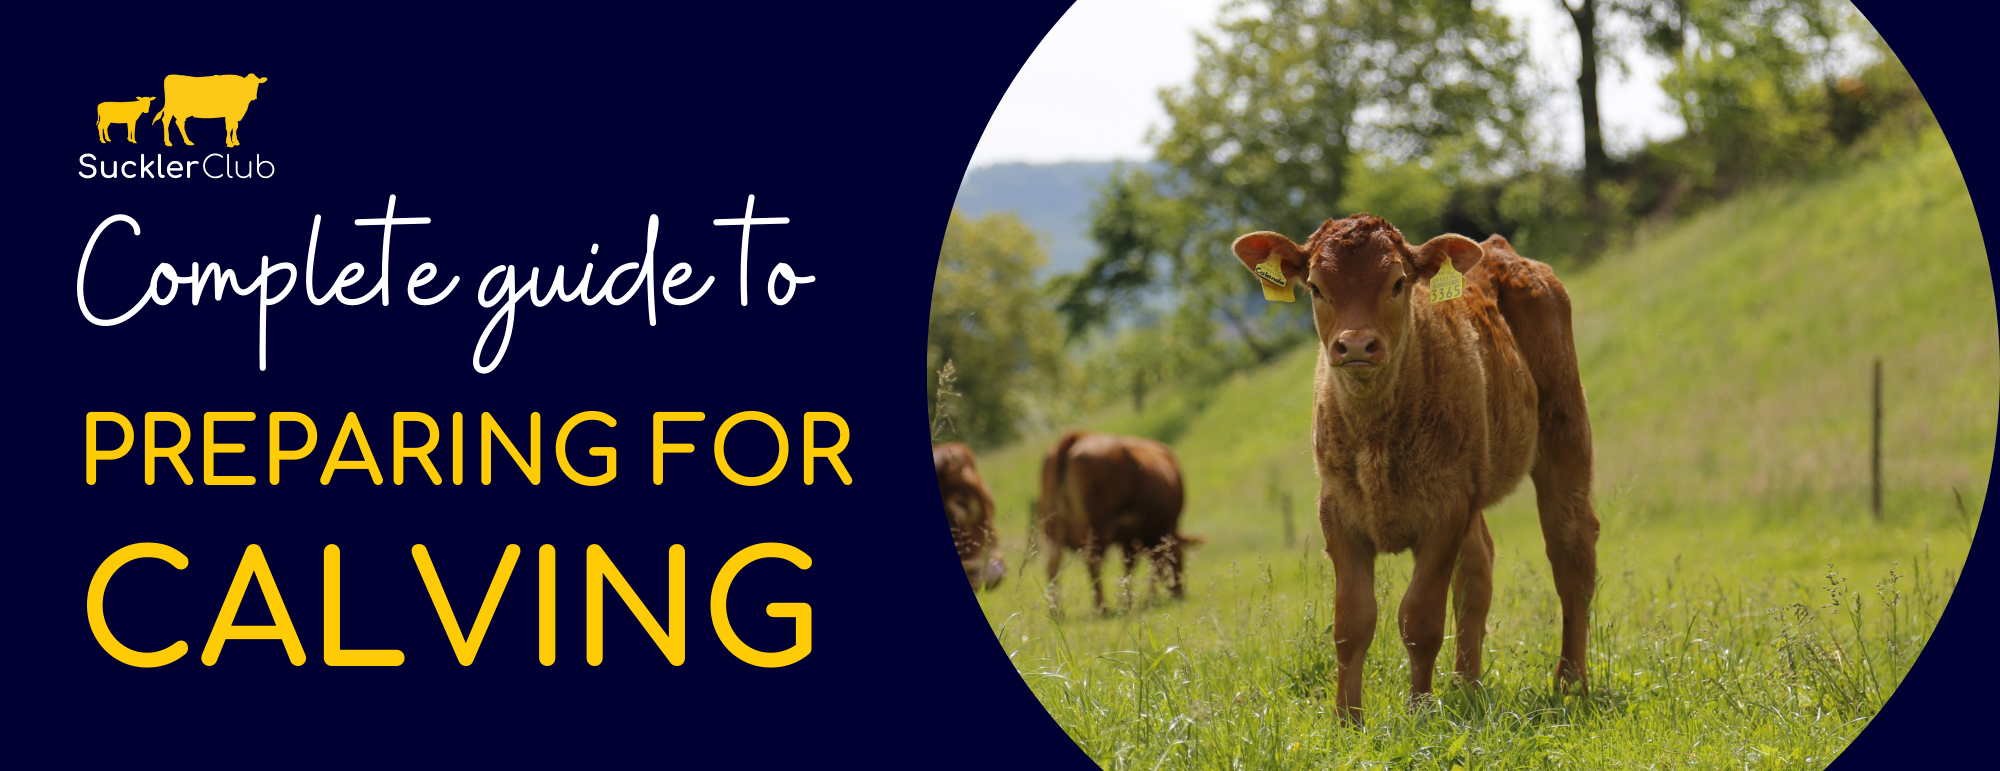
The countdown to calving is on, is your herd ready?
As winter closes, Spring calving suckler farmers will be getting ready for the upcoming calving season; a time when animals – cow and calf – are at their most vulnerable, both nutritionally and in terms of susceptibility to disease. It’s also a pretty demanding time for farmers!
Did you know – management around calving has a huge impact on next year’s conception rates?
We know it can be hard to focus on the future when you’re out there fire-fighting on farm so, together with Sarah Pick, knowledge exchange manager at AHDB Beef and Lamb and Keith Cutler, vet at Synergy Farm Health and director of CHECS, we’ve put together some helpful resources aimed at:
- Freeing up some of your time looking after your herd
- Exploring the relationship between your herd’s fertility and profitability
- Giving you the practical tools and training you need to start monitoring your herd performance during calving, with a view to improving long-term returns
To help you navigate this blog, we’ve created some useful links that will take you directly to the section that you want to read:
- Calving objectives
- KPIs and Body Condition Score
- Pre-calving nutrition and colostrum levels
- The calving window
- Vaccinations and health risks
- Planning and preparing your environment
- Equipment and supplies
- Post-calving nutrition
- Recording births
- Animal health
- Weighing your animals
- Prepping your team on safety
1-2 months before calving
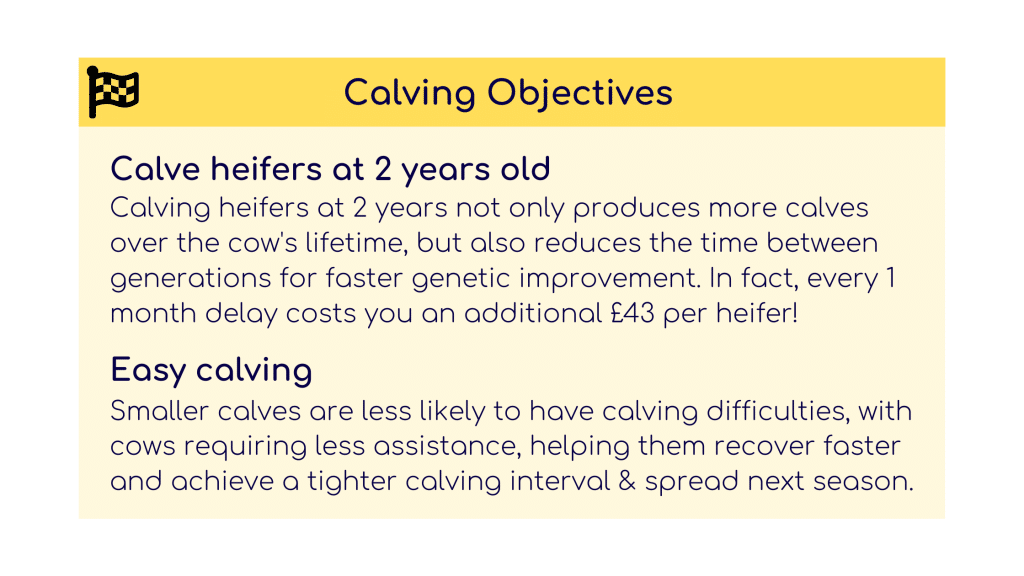
1. Be clear on your calving objectives
There are two key calving objectives for suckler farmers to aim for when it comes to calving.
2. Understand the Key Performance Indicators worth tracking
These are the measurable goals that relate to your calving objectives, and what it will pay you to keep track of.
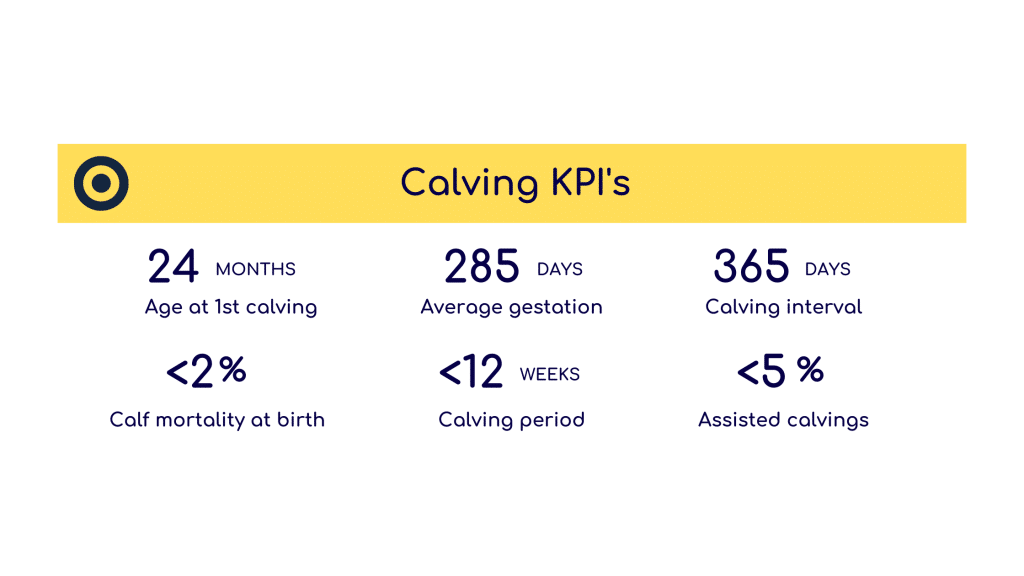
While you might have a rough idea where your herd falls on these metrics, continuously tracking them will help you top both understand where you need to improve to meet your objectives, and also enable you to see how quickly you’re making progress.
And if it all sounds complicated don’t worry. Logging your births, sires and PD tests in the Breedr mobile app will automatically calculate these metrics for you.
Track your progress using the Breeding KPI report in the Breedr Web App (uk.breedr.co).
3. Separate cows based on body condition score
Preparation for calving starts some months ahead of the event, to ensure cows have a body condition score (BCS) of 2.5-3 at calving.
In a spring calving system cows should be housed in relation to their BCS and fed accordingly. For example, fat cows (above BCS 3) should be grouped separately from thinner cows (less than BCS 2.5) and first calvers.
Sarah Pick, knowledge exchange manager at AHDB Beef and Lamb, says producers should avoid thinning cows down in an attempt to reduce calving difficulties. “It actually does the opposite, with thin cows having an increased risk of calf mortality and morbidity and a longer calving interval,” she says.
“The cow will lack the energy required to calve on her own and it will also detrimentally impact colostrum quality. This is particularly important in heifers which have a lot going on – they are still growing, lactating and then we expect them to reproduce again within 365 days.
How to log a body condition score
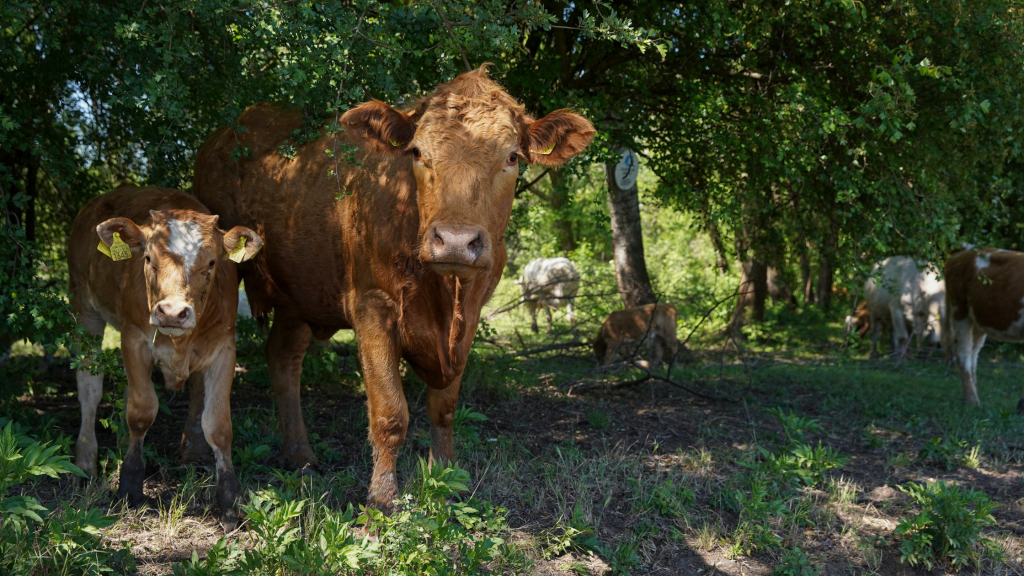
Heifers require a higher quality ration compared with mature cows because they are growing as well as producing a calf. It is best to keep heifers separate from the main herd so that they can be given better quality grazing and avoid competition for feed with mature cows.
The aim should be a steady rate of liveweight gain throughout pregnancy up to the last two months. Maternal weight should then be maintained.
Nutrient requirements for pregnant heifers (calving at two years of age):
| Heifer in mid-pregnancy | Heifer in last two months of pregnancy | |
| Heifer weight excluding calf and membranes (kg) | 520 | 580 |
| Heifer weight including calf and membranes (kg) | 530 | 635 |
| Weight gain of heifer (kg/d) | 0.7 | 0 |
| Energy requirements (MJ ME/d) | 90 | 92 |
| Crude protein (CP) % of diet | 11 | 11 |
Heifers have an extended post-partum interval (time between calving and first oestrus), compared with cows. This is because they require energy for both growth and lactation before finally directing some of it towards reproduction.
Ensuring they are in good body condition at calving will help to ensure heifers are back cycling again ready for the breeding season.
4. Ensure pre-calving nutrition is sufficient
To achieve a calving interval of 365 days, cows need to conceive approximately 84 days after calving.
“Pre-calving nutrition is more important than post-calving nutrition,” says Sarah Pick. “This is because the egg for the next pregnancy starts to develop in the last trimester of the current one. Poor nutrition during this time will therefore impact egg development leading to poorer conception rates.”
Using the Breedr app to record positive PD tests during the next breeding cycle will automatically calculate this KPI, which is deemed critical to understanding the fertility status of your herd.
How to log PD tests and create automatic alerts
Further AHBD guidance on how to optimise fertility in the suckler herd
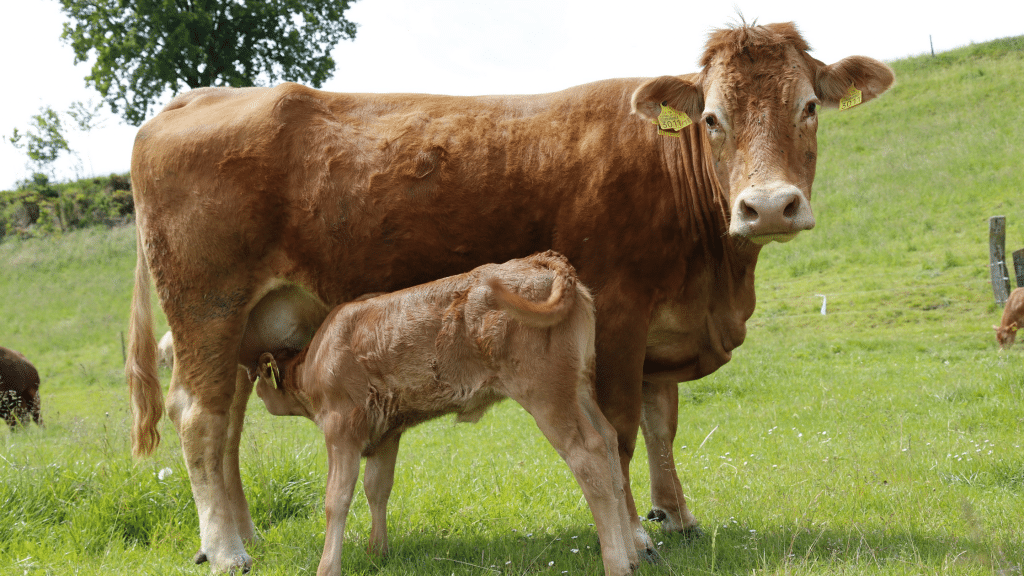
5. Act to maximise colostrum levels
Antibodies cannot pass from the cow to the calf during pregnancy, therefore calves are born without limited immunity.
Suckler calves should be fed three litres of colostrum within two hours of birth to maximise absorption of antibodies and increase the calf’s immunity to help fight potential infectious bacteria and viruses.
Dry cows off at least five weeks before calving to ensure there is enough colostrum for the calf and supplement straw-based diets with a high protein feed 6-8 weeks before calving to help ensure colostrum is of good quality.
Ideally colostrum will be provided by the cow, but it’s always a good idea to have some frozen cows’ colostrum or powdered colostrum in store just in case you need to intervene. Stomach tubes will help if the calf won’t suck from a bottle.
Further AHDB guidance on colostrum management can be found here
6. Work out your calving window
There are many factors that determine when a farmer will choose to calve his or her cows, Keith Cutler, vet at Synergy Farm Health and director of CHECS says: “With spring calving cows, timing calving to coincide with turnout reduces the risk of Johne’s disease spreading from adult faeces to calves.”
When you record a PD Test in the Breedr app it will predict the calving due date and create an alert.
7. Vaccinate at least a month before calving
Keith Cutler says it is important that any vaccines – such as for rotavirus, coronavirus and E-coli – are given at least a month before calving. “This is to allow time for the vaccine to stimulate antibody production and ensure colostral quality.”
You can add any medicines to the Breedr cabinet to manage your inventory. When administering these medicines, they can easily be recorded against the animal which will deduct the quantity from your cabinet and place the animal under withdrawal if necessary. Use the medicine reports to gain further insights into commonality of use, as well as staying Red Tractor compliant.
8. Manage health risks in your herd
Calves can be BVD tag and tested at birth, but there is no point testing calves for Johne’s disease, says Keith Cutler, “producers should test all suspect cases in adults to define presence. Scanning surveillance should be carried out on animals two years old or more.”
Results of any BVD tests can be recorded in the Breedr app and any positive animals can be assigned with an alert to ensure they are appropriately dealt with. It’s important to log ahead when it comes to animal health, as it helps to gather data from the herd.
The month before calving
Being prepared and ready before the start of calving season can make life much easier for you, and potentially save a calf.
1. Plan and prepare your calving environment
When cows are calving indoors, there is potential for spread of Johne’s disease from adult faeces to calves so cleanliness is key, consider disinfecting the area if necessary, also to help against bacteria and protozoal pathogens such as coccidiosis.
If you choose to calve outside, think about how you will offer assistance if necessary, says Keith Cutler. “Perhaps have a pen in the field corner – somewhere you can restrain the cow.”
Make sure you’ve thought about how you might keep control of dogs – both your own and the public’s. This is not just to avoid attacks, but also to control the potential spread of neospora which is spread when dogs eat infected afterbirth.
And don’t forget your calving cameras – these can be linked to smartphones. If you have them, make sure they are in good working order and dust off the lenses if safe to do so.
2. Gather your equipment and supplies
Creating a checklist of things you will need to ensure safe and easy calving could save time in the long run.
Consider what equipment you will need to assist calving, a calving gate? Calving aid or jack? Perhaps calving ropes, and of course lubricant, and wrist and shoulder length rubber gloves, and don’t forget your ear tags either!
“When the calf is born, ensure navel hygiene; applying strong Iodine BP disinfects and dries out the navel. Make sure you have all the equipment you need and that it is in working order. And make sure the medicine cupboard is reviewed,” says Keith Cutler.
A thermometer will prove useful for checking animal temperatures if there is a suspected illness (see plan around animal health).
If you use them you may need to get rubber rings for castration ready, along with disinfectant, and access to warm water and clean buckets. Iodine BP is also necessary to help seal the navel.
It is always good to have stores of magnesium and calcium solutions for injection and needles just in case you need to treat any cases of staggers or milk fever. And a refractometer will help you measure the quality of the cow’s colostrum.
3. Plan your post-calving nutrition
Key to calf health is colostrum, adds Keith Cutler. “I can’t over-stress the importance of colostrum for calf health. Make sure calves get three litres in the first two hours after birth. Colostrum is ideally supplied by the cow, but it’s worth having some in store just in case you need to intervene.
A freshly calved cow’s energy requirements are approximately double that of a dry cow, says Sarah Pick. “For spring calving, try to plan for calving to coincide with the spring flush of grass. Try to avoid BCS loss between calving and the breeding season because the hormones that control fertility are closely linked to nutritional status.”
Cows should aim to return to oestrus post-calving after 45 – 50 days, recording when a cow is seen bulling in the Breedr app will generate this KPI which will provide an insight into the adequacy of your post-calving nutrition.
Nutrient guidelines for a mature 650kg suckler cow:
- Early lactation: 13-16kg dry matter intake/day (DMI), 120-130MJ/kg metabolisable energy/day (ME), 11-12% minimum crude protein (CP) on a dry matter basis.
- Dry cow: 9-10kg DMI, 75-80MJ/kg ME, 9% minimum CP (CP% in dry matter).
- Hypomagnesemia (aka grass staggers) is caused by low blood magnesium and is most common in newly calved cows. It tends to occur when animals graze spring grass that is particularly lush and has received potassium fertiliser. Magnesium helps the cow mobilise calcium, which is in high demand once she has calved. Ensuring adequate magnesium is provided in the diet will therefore help reduce the incidence of milk fever. If the herd is at risk magnesium can be supplemented through boluses, licks, salts added to water and buckets.
- Magnesium also helps the cow mobilise calcium, which is in high demand once she has calved. Ensuring adequate magnesium is provided in the diet will also help reduce the incidence of milk fever.
4. Plan how you’ll record your births – and teach your team
Outside of delivering a healthy calf, accurately recording the births is the most important task of the calving period, and a critical step to achieving the easy calving objective. You can record this in whatever way is easiest for you, providing you capture the following information to help you identify trends in performance that will inform your future breeding decisions:
- Dam
- Sire
- Passport number / EID
- Calving performance
- Birth weight
- Offspring vigour
Here is a demo of how you – or anyone on your farm – can capture this information in under 90 seconds using the Breedr app:
TIME SAVING TIP: Every time you log a birth in the Breedr mobile app it creates a movement ready to approve and send to BCMS/ScotMoves, saving you hours or paperwork and admin.
5. Contingency plan for optimum animal health
If any calves get scours they will become dehydrated quickly, so hydration/electrolyte formulas will be required to keep them hydrated.
If there is an imbalance of magnesium and/or calcium cows will become either hypo-magnesaemic or hypocalcaemic and therefore require rapid administration of either mineral, so magnesium and calcium solutions for injection and needles are worth considering.
To ensure they are in positive energy balance and can support their own nutritional requirements and milk production, high energy feed for post-calving cows is important, along with calf milk replacer in case any cows cannot support milk production.
To save time, why not think about scanning your medicines into the virtual medicine cabinet in the Breedr app. That way you can log the dose against the animal at the scene and Breedr will automatically update your medicine book and cabinet report, ready for your next Red Tractor audit.
6. Check your weigh kit
The key to delivering a step-change in the output of your herd is to identify and breed from the animals that produce easy-calving, faster growing offspring. We’ve covered how to monitor calving-ease, but the only way to accurately track growth is by regularly weighing your calves and cows.
You’re aiming for 1.1kg of daily liveweight gain from birth to weaning, and for the calf to reach 50% of the dam’s weight by that point.
The good news is that far from being an extra chore, you can now weigh an animal in less that 10 seconds and instantly find out how they are performing for their age, whether their growth rate is increasing or decreasing and even what their current value is estimated to be.
Logging weights every season will also help you ensure your grass and feed rations are meeting stock’s changing needs, manage your transitions to avoid an unnecessary growth knock, as well as alerting you if you have any unidentified illnesses in your herd.
If you’re new to weighing or need some extra kit don’t forget that our Get Weighing Grant gives you a 25% rebate on the value of any weigh kit from the Breedr shop, once you weigh your animals using your new kit.
7. Prep your team on safety
Finally, calving can have you working at any hour day or night, and while tiredness is somewhat unavoidable it is important to keep your team safe at all times.
Talk to your team and come up with a plan; how are you going to manage night checks, weekend work and rotas? What will you do to manage lone working and what systems of contact do you have in place in case of emergency?
Identify any cows that show particularly aggressive behaviour and likewise identify those cows that are calm and happy for you to be around – make sure that your team and the vet is aware.
Agree your intervention approach
Keeping an eye on calving cows is critical, says Keith Cutler. “Prepare to offer assistance if needed but don’t intervene too soon. If you try to assist too early this can slow calving and make it more difficult because the cervix has not dilated properly. Ensure hands/arms are clean and use gel. Calving cows slowly minimises damage to the cow and ensures future fertility is optimised. Call the vet sooner rather than later if you are struggling.”
Watch our Precision Calving webinar:
Read: Complete Guide to Preparing for Service


